Looking to take your gardening skills to the next level? The key to success lies in understanding the quality of your soil. And that's where a soil test kit becomes your best friend. Whether you're a novice gardener or a seasoned pro, a soil test kit can provide you with crucial information about the nutrient levels, pH balance, and overall health of your soil.
With the right soil test kit, you can take the guesswork out of gardening and make informed decisions about fertilizers, amendments, and other treatments to improve your soil. From testing the soil in your backyard vegetable patch to analyzing the soil in your landscaping project, a soil test kit is an essential tool for any green thumb.
In this article, we'll explore the journey from being a novice to becoming a pro in soil testing. We'll guide you through choosing the right soil test kit for your needs, explain how to properly conduct a soil test, and help you interpret the results. By the end, you'll have the knowledge and confidence to master soil testing, ensuring your plants thrive and flourish. So, let's dig in and unlock the secrets of successful soil testing!
The importance of soil testing
Understanding the composition and nutrient levels of your soil is crucial for successful gardening. Soil testing provides valuable insights into the fertility and health of your soil, allowing you to address any deficiencies or imbalances that may be hindering plant growth. By identifying the specific needs of your soil, you can tailor your gardening practices to optimize plant health and yield.
Soil testing helps you determine the pH level, nutrient content, and organic matter present in your soil. The pH level of soil affects nutrient availability, microbial activity, and plant growth. Different plants thrive in different pH ranges, so understanding your soil's pH level is essential for selecting the right plants and ensuring optimal growth.
Additionally, soil testing helps identify nutrient deficiencies or excesses. Nutrients like nitrogen, phosphorus, and potassium are essential for plant growth, and their availability in the soil can greatly impact plant health. By analyzing nutrient levels in your soil, you can provide the right fertilizers or amendments to address any imbalances and promote healthy plant growth.
Understanding soil composition and nutrients
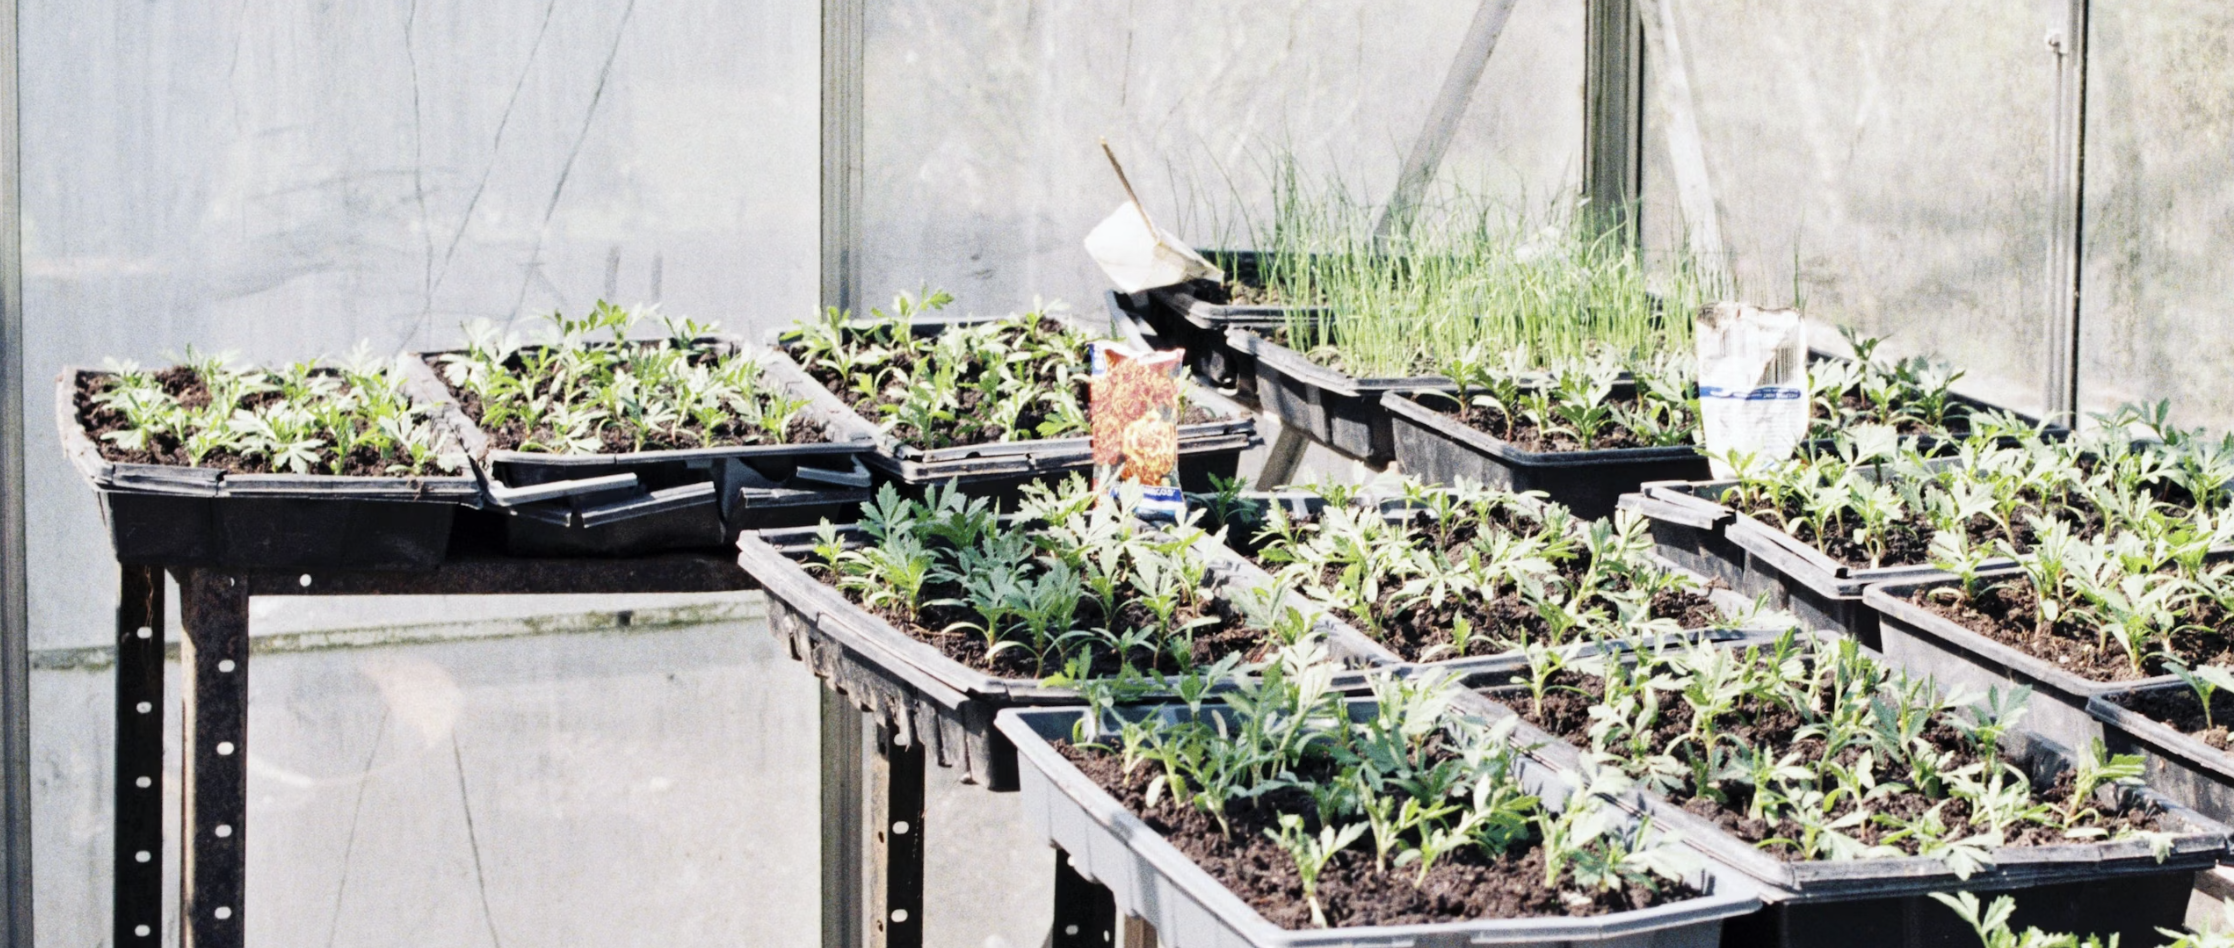
Soil is a complex mixture of minerals, organic matter, water, and air. Understanding the composition of your soil is key to creating the ideal environment for plant growth. Soil is classified into different types based on its texture, which refers to the proportions of sand, silt, and clay particles present.
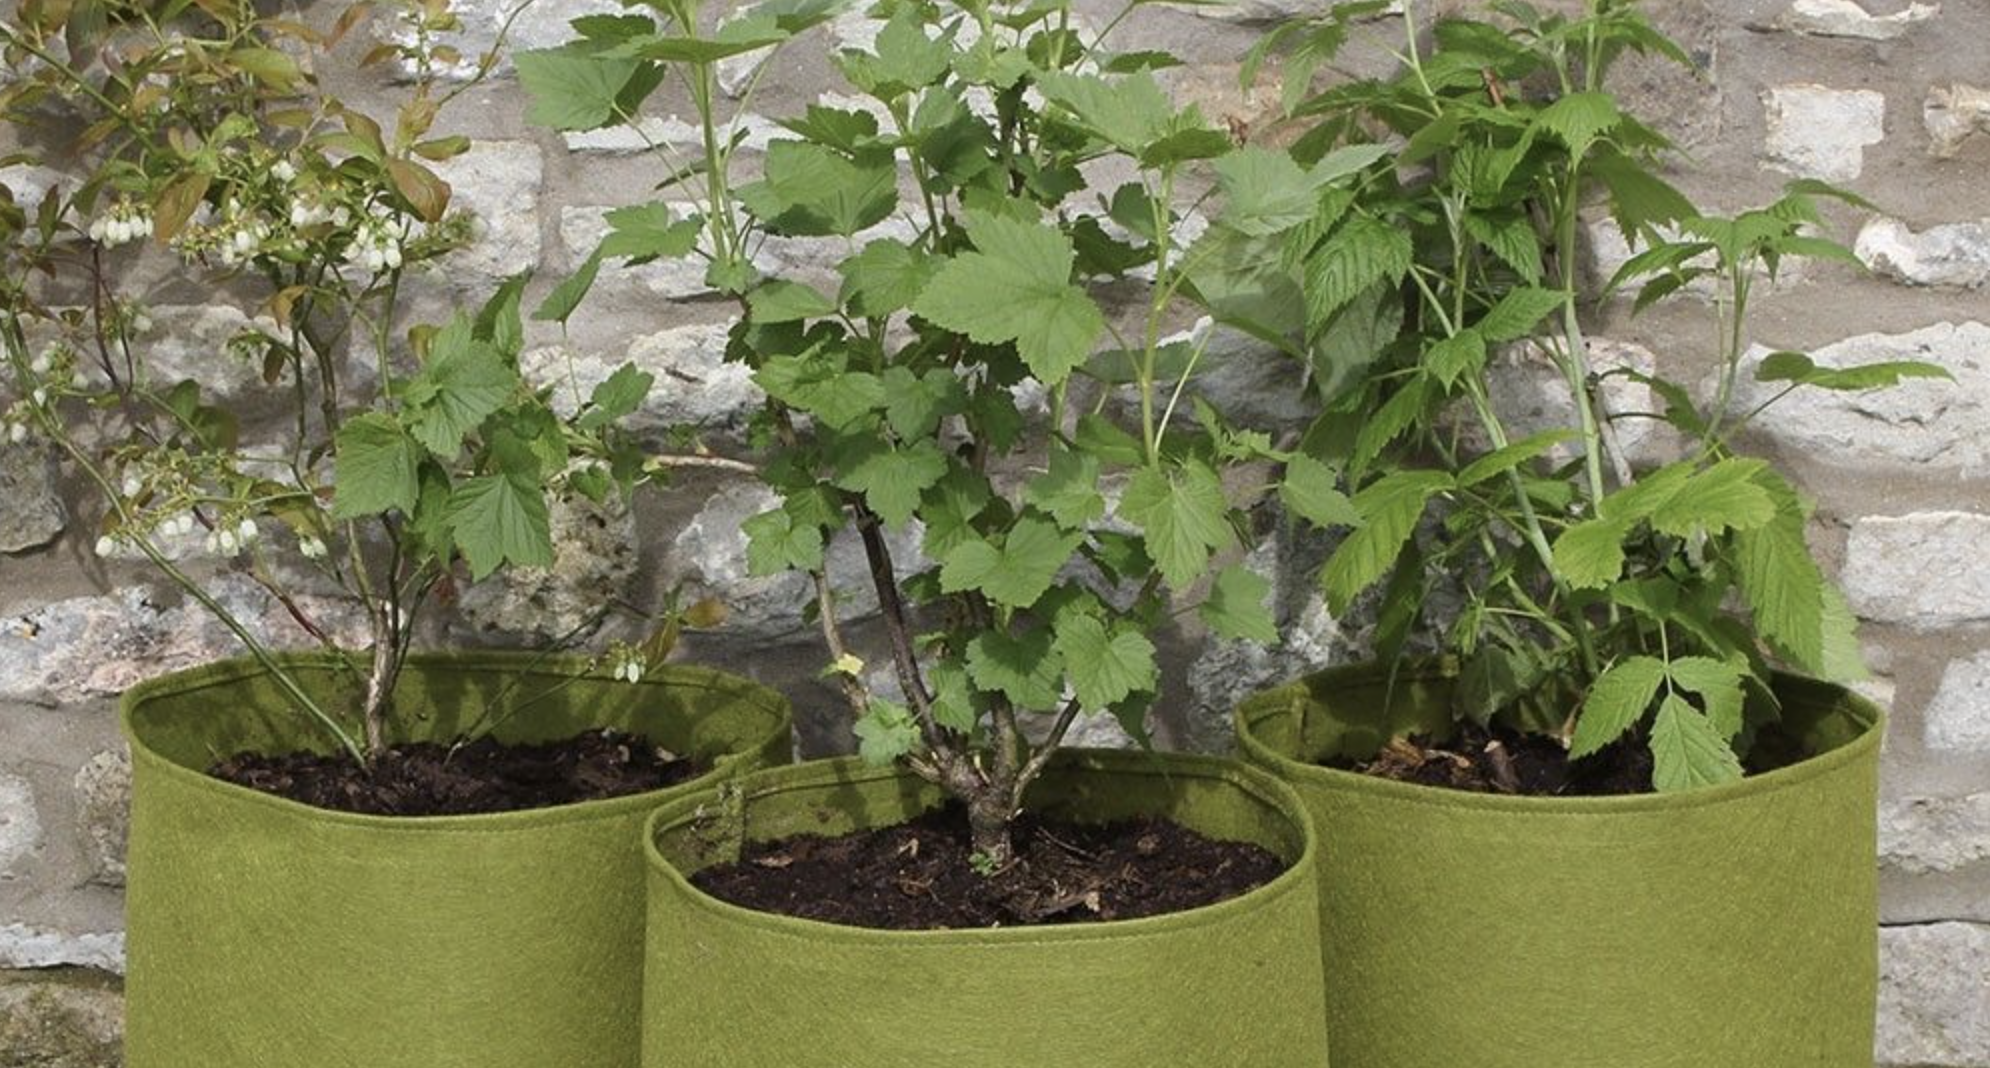
Sandy soil drains quickly and has low water-holding capacity, while clay soil retains water but can become compacted. Loam soil, a balanced mixture of sand, silt, and clay, is considered ideal for gardening, as it provides good drainage while retaining moisture and nutrients.
In addition to soil texture, soil composition also includes organic matter, which consists of decomposed plant and animal materials. Organic matter improves soil structure, water retention, and nutrient availability. It also encourages beneficial microbial activity, which helps break down organic matter and release nutrients for plant uptake.
Types of soil test kits available
Soil test kits come in various forms, each offering different levels of accuracy and convenience. The three main types of soil test kits are:
1. Chemical Test Kits: These kits use chemical reagents to determine soil pH and nutrient levels. They typically come with test tubes, color charts, and instructions for conducting the tests. Chemical test kits are affordable and easy to use, making them a popular choice for home gardeners.
2. Digital Test Kits: Digital test kits use electronic sensors to measure pH and nutrient levels. They provide quick and accurate results, eliminating the need for color matching. Digital test kits are more expensive than chemical test kits but offer greater precision and ease of use.
3. Laboratory Testing: For the most comprehensive soil analysis, laboratory testing is recommended. Soil samples are sent to a professional lab, where they undergo extensive testing for pH, nutrient content, organic matter, and other parameters. While laboratory testing provides the most accurate results, it is also the most expensive and time-consuming option.
How to choose the right soil test kit for your needs
When selecting a soil test kit, consider factors such as cost, convenience, and accuracy. If you're a beginner or have a small garden, a chemical test kit may be sufficient for your needs. These kits are affordable, easy to use, and provide basic information about soil pH and nutrient levels.
For more advanced gardeners or those with larger gardens, a digital test kit offers greater accuracy and convenience. Digital test kits eliminate the subjectivity of color matching and provide quick, precise results. While they may be more expensive, the investment is worthwhile for those seeking reliable and efficient soil testing.
If you require in-depth soil analysis or have specific concerns about your soil, laboratory testing is the best option. A professional lab can provide detailed reports on nutrient levels, pH, organic matter content, and other soil parameters. This information can help you make informed decisions about soil amendments and fertilizers.
Step-by-step guide to conducting a soil test
Conducting a soil test is a straightforward process that can be done right in your own backyard. Here's a step-by-step guide to help you get started:
1. Collect Soil Samples: Use a garden trowel or soil probe to collect soil samples from different areas of your garden. Take samples from both the surface and a depth of 6-8 inches. Mix the samples together in a clean container, removing any debris or rocks.
2. Prepare the Soil Sample: Allow the soil sample to air-dry for a day or two. Once dry, break up any clumps and remove any roots or plant material. For accurate results, ensure the soil sample is representative of your entire garden.
3. Conduct pH Test: Follow the instructions provided with your soil test kit to test the pH of your soil. Typically, this involves adding a soil sample to a test tube, adding a reagent or indicator, and comparing the color change to a color chart. Record the pH value for future reference.
4. Test Nutrient Levels: Depending on the type of soil test kit you're using, you may have separate tests for different nutrients or a comprehensive test for multiple nutrients. Follow the instructions provided to test the nutrient levels in your soil. Record the results for each nutrient tested.
5. Interpret the Results: Once you have the test results, refer to the instructions or consult online resources to interpret the findings. Pay attention to any nutrient deficiencies or imbalances that may require amendment. Consider the pH level and whether it falls within the desired range for your plants.
6. Make Amendments: Based on the test results, determine the appropriate amendments for your soil. This may include adding lime to raise pH, sulfur to lower pH, or specific fertilizers to address nutrient deficiencies. Follow the recommended application rates and methods for best results.
7. Retest and Monitor: After making amendments, allow time for the changes to take effect. Retest your soil periodically to monitor the impact of your amendments and ensure your soil remains in optimal condition for plant growth.
Interpreting soil test results
Interpreting soil test results can seem daunting at first, but with a little guidance, you'll be able to make sense of the numbers and make informed decisions about improving your soil. Here are some key points to consider when interpreting your soil test results:
1. pH Level: The pH level of your soil affects nutrient availability and plant growth. Most plants prefer a slightly acidic to neutral pH range of 6.0 to 7.0. If your soil pH is outside this range, you may need to amend it using lime to raise pH or sulfur to lower pH.
2. Macronutrients: Soil test results typically include measurements for macronutrients like nitrogen (N), phosphorus (P), and potassium (K). These nutrients are essential for plant growth, and their availability in the soil can greatly impact plant health. The test results may indicate whether your soil has sufficient levels of these nutrients or if supplementation is required.
3. Micronutrients: Micronutrients are essential elements that plants require in smaller quantities. Soil test results may include measurements for micronutrients such as iron, zinc, manganese, and copper. These nutrients are important for various biochemical processes in plants and can affect growth and development.
4. Organic Matter: Soil organic matter content is an important indicator of soil health. It influences soil structure, water holding capacity, nutrient retention, and microbial activity. Soil test results may provide an estimate of organic matter content, which can guide your soil management practices.
5. Cation Exchange Capacity (CEC): CEC is a measure of the soil's ability to hold and exchange nutrients. Soils with a higher CEC can retain more nutrients, reducing the risk of leaching. CEC is influenced by soil texture and organic matter content. Understanding your soil's CEC can help you determine nutrient management strategies.
Using soil test results to improve soil health
Once you have your soil test results in hand, it's time to put them to use and improve the health of your soil. Here are some practical steps you can take based on your soil test results:
1. Adjust pH: If your soil pH is too high or too low, adjust it by adding the appropriate amendments. Lime can be added to raise pH, while sulfur can be used to lower pH. Follow the recommended application rates and guidelines for best results.
2. Address Nutrient Imbalances: If your soil test reveals nutrient deficiencies or imbalances, apply the appropriate fertilizers or amendments to address them. This may involve adding nitrogen, phosphorus, potassium, or micronutrient fertilizers. Follow the recommended application rates to avoid over-application.
3. Enhance Organic Matter: If your soil has low organic matter content, incorporate organic amendments such as compost, well-rotted manure, or cover crops. Organic matter improves soil structure, water retention, nutrient availability, and microbial activity. Regular additions of organic matter can gradually improve soil health over time.
4. Practice Crop Rotation: To prevent nutrient imbalances and reduce the risk of pests and diseases, practice crop rotation. Rotating crops helps break pest and disease cycles, improves soil fertility, and reduces the need for chemical inputs. Consider the nutrient requirements of different crops when planning your rotation.
5. Mulch and Cover: Mulching your garden beds helps conserve moisture, regulate soil temperature, suppress weeds, and improve soil health. Organic mulches, such as straw or wood chips, also break down over time, adding organic matter to the soil. Cover crops can also be planted during fallow periods to protect and enrich the soil.
Common mistakes to avoid when using a soil test kit
While soil testing is a valuable tool for improving soil health, it's important to avoid common mistakes that can lead to inaccurate results. Here are some common pitfalls to watch out for:
1. Improper Sampling: Ensure you collect soil samples from representative areas of your garden. Avoid sampling near buildings, pathways, or areas with unusual soil conditions. Mix the samples thoroughly to create a composite sample that accurately represents your entire garden.
2. Contaminated Equipment: Clean your soil test kit equipment thoroughly before each use. Residual chemicals or soil particles can contaminate subsequent samples, leading to inaccurate results. Follow the manufacturer's instructions for cleaning and storing your soil test kit.
3. Inadequate Drying: Allow your soil samples to air-dry thoroughly before testing. Moisture in the soil can affect the accuracy of pH and nutrient tests. Drying the samples also makes them easier to work with and prevents clumping.
4. Incorrect Test Timing: Conduct soil tests at the appropriate time for accurate results. Avoid testing immediately after fertilizing or amending the soil, as this can skew nutrient levels. Wait a few weeks after making any significant changes to the soil before conducting a test.
5. Overreliance on Test Results: While soil test results provide valuable information, they should be used in conjunction with other factors such as plant symptoms, visual observations, and knowledge of specific crop requirements. Soil testing is just one tool in the gardening toolkit, and it's important to consider the broader context when making decisions.
Advanced soil testing techniques
For those looking to delve deeper into soil analysis, there are advanced soil testing techniques available. These techniques provide more detailed information about soil properties and can be particularly useful for specialized applications or research purposes. Some advanced soil testing techniques include:
1. Soil Microbiology Analysis: This analysis focuses on studying the microbial community present in the soil. It provides insights into the diversity, abundance, and activity of soil bacteria, fungi, and other microorganisms. Soil microbiology analysis can help assess soil health, nutrient cycling, and disease suppression potential.
2. Soil Respiration Testing: Soil respiration testing measures the rate at which soil microorganisms respire or release carbon dioxide. This test provides information about soil microbial activity, which is closely linked to nutrient cycling and organic matter decomposition. Soil respiration testing can help evaluate soil fertility and the impact of management practices.
3. Soil DNA Analysis: DNA analysis techniques allow for the identification and quantification of specific microbial species or functional genes in the soil. This approach provides detailed information about the microbial community composition and potential functions. Soil DNA analysis is commonly used in research and can offer valuable insights into soil ecosystems.
It's important to note that these advanced soil testing techniques require specialized equipment and expertise. They are typically performed in research labs or by professionals. For most gardeners and home growers, standard soil testing methods and kits are sufficient to meet their needs.
Conclusion: Becoming a soil testing expert
Mastering soil testing is an essential skill for any gardener looking to optimize plant health and yield. By understanding the composition and nutrient levels of your soil, you can make informed decisions about amendments, fertilizers, and other treatments to improve soil health.
In this article, we've explored the journey from being a novice to becoming a pro in soil testing. We've discussed the importance of soil testing, different types of soil test kits available, and how to choose the right kit for your needs. We've also provided a step-by-step guide to conducting a soil test and interpreting the results.
Remember, soil testing is an ongoing process. Regularly monitoring and adjusting your soil based on test results will ensure optimal plant growth and long-term soil health. By following the guidelines outlined in this article and continuously expanding your knowledge, you'll soon become a soil testing expert, ensuring your plants thrive and flourish. So, grab your soil test kit and let's get started on your soil testing journey today!
About the Author

Related Posts

Unlock the Secrets of a Lush Green Lawn: A Comprehensive Guide to Choosing the Perfect Lawn Fertilizer
10 Tips for Choosing the Best Grass Seed for a Lush Green Lawn

Enhancing Your Outdoor Spaces: Transform Your Garden with a Bird Feeder

Squirrel-Proof Bird Feeders Made Easy: Proven Methods and Products to Keep Squirrels at Bay

Unlocking the Secrets of Feeding Wisteria: How to Make your Plant Thrive